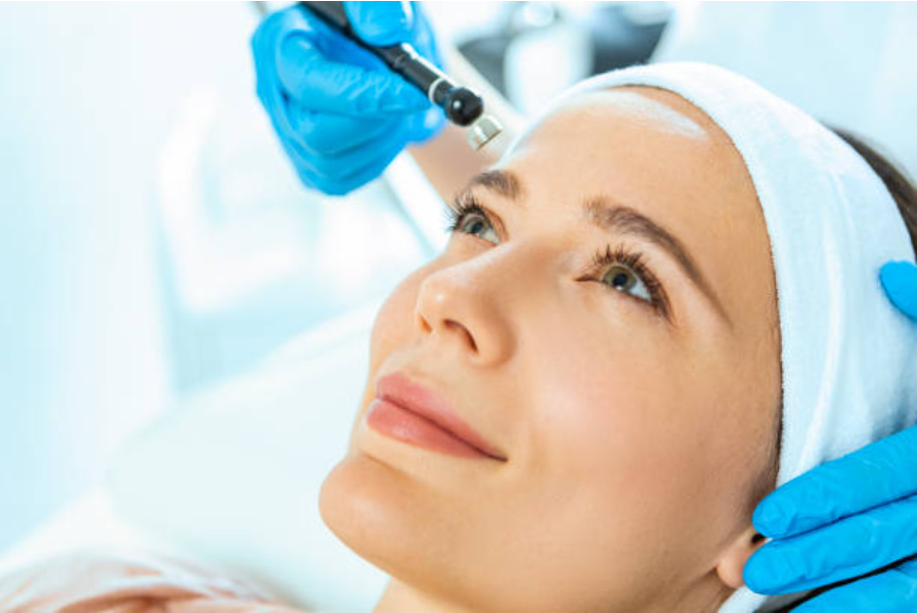
Are you craving smoother, younger-looking skin but don’t want to incur the high costs of professional treatments? Microneedling at home may be the game-changer you’ve been looking for. This simple yet effective skincare technique is growing in popularity for its ability to boost collagen production, reduce fine lines, and improve skin texture. Today, let’s explore the magic of microneedling and how to safely and effectively perform it at home.
Microneedling is a skincare technique that uses a tool with tiny needles to create microscopic wounds in the skin, triggering the body’s natural healing process to increase collagen and elastin production. These tiny wounds promote firmer, smoother, and brighter skin.
If done correctly, microneedling at home can provide the following benefits:
- Boosts collagen production and reduces wrinkles: Collagen is key to maintaining youthful skin, and microneedling can help stimulate its production, reduce fine lines, and improve skin elasticity.
- Lightens Acne Scars and Discoloration: Microneedling helps break down scar tissue and promote an even skin tone, making it an ideal solution for acne scars, sun spots, and pigmentation issues.
- Enhanced Skincare Absorption: The microchannels created by microneedles allow serums and moisturizers to penetrate deeper into the skin, increasing their effectiveness. This means your vitamin C serums, hyaluronic acid, and other skincare products will work better.
- Improve Skin Texture: If you have rough or uneven skin, microneedling can help refine the texture for a smoother look.
- Shrink Pores: Enlarged pores can make your skin appear dull and uneven. Microneedling helps tighten the skin, and with long-term use, it can reduce the appearance of pores.

While microneedling at home can be very effective, it can cause irritation or infection if not done correctly. Follow these steps to ensure a safe and successful treatment:
Step 1: Choose the right tool
Two common tools for at-home microneedling are:
- Microneedling roller: a handheld roller with tiny needles
- Microneedling pen: a pen-like device that allows for more precise manipulation
For beginners, it is recommended to start with a microneedling roller with 0.25 mm needles.
Step 2: Clean and disinfect
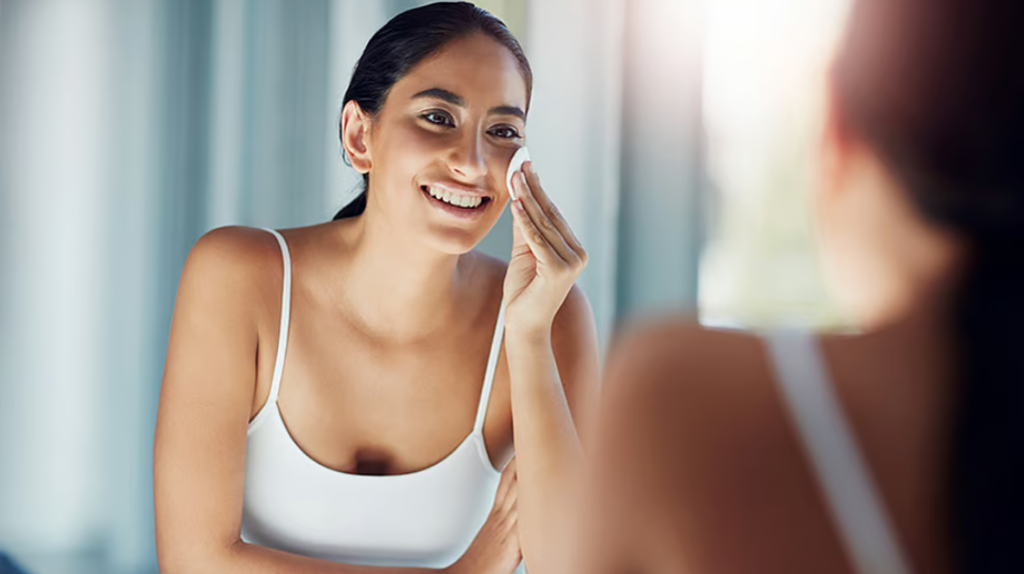
Cleanse your face with a gentle cleanser to remove dirt and oil.
Disinfect your microneedling roller or pen with alcohol to prevent infection.
Step 3: Begin rolling or pricking
Gently roll or pricking the tool across your face in different directions (vertical, horizontal, and diagonal).
Avoid excessive pressure to prevent unnecessary irritation.
Step 4: Apply a moisturizing serum
After microneedling, your skin is better able to absorb the product. Apply a soothing serum, such as hyaluronic acid or peptide serum, to enhance the healing effect.
Step 5: Moisturize and Protect
Finally, keep your skin hydrated with a gentle moisturizer.
Apply sunscreen the next morning, as microneedling can make your skin more sensitive to the sun.

Expected Skin Reactions After Microneedling
- Immediately after microneedling, you may experience:
- Mild redness (similar to a mild sunburn)
- Slight sensitivity or tightness
- Mild peeling may occur within a few days
These effects usually subside within 24-48 hours. With continued use, you will begin to see significant improvements in skin texture, tone, and elasticity.
Who is not suitable for at-home microneedling?
- Although microneedling is generally safe, it is not suitable for everyone. Avoid it if you have:
- Active acne or infection
- Sensitive or highly reactive skin
- Prone to keloid scarring
- Currently using strong exfoliants or retinol (stop using them a few days before microneedling)
If you are unsure if microneedling is a good candidate for you, consult a dermatologist before starting.
Microneedling at home is an affordable and effective way to help you achieve brighter, younger-looking skin. With the right technique and consistency, you can enjoy smoother texture, reduced wrinkles, and a brighter complexion without ever setting foot in a clinic.

